Cute Notepad Papers in Silhouette Studio
Published on BellaOnline.com
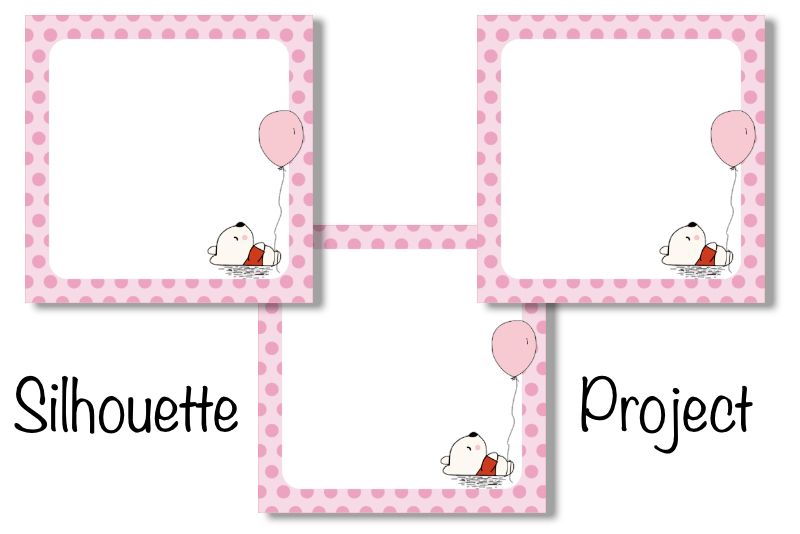
In this Silhouette® Studio tutorial, we will create a cute notepad paper that you can glue together into a notepad. The pad will use one image from Pixabay.com (see link below). The note paper will be 3 x 3 inches, allowing six to fit on a letterhead sized paper for print and cut.
https://www.adobe.com/express/
Free Bear Balloon Napping Illustration by La Petite Femme
https://pixabay.com/illustrations/bear-balloon-napping-cute-3277204/
The Silhouette Cameo 5 was supplied to me by Silhouette America.
Silhouette, Silhouette Studio, Silhouette Connect, PixScan, Silhouette CAMEO and Silhouette Portrait are either registered trademarks or trademarks of Silhouette America, Inc. Product screen shot(s) reprinted with permission from Silhouette America, Inc.
Remove Background
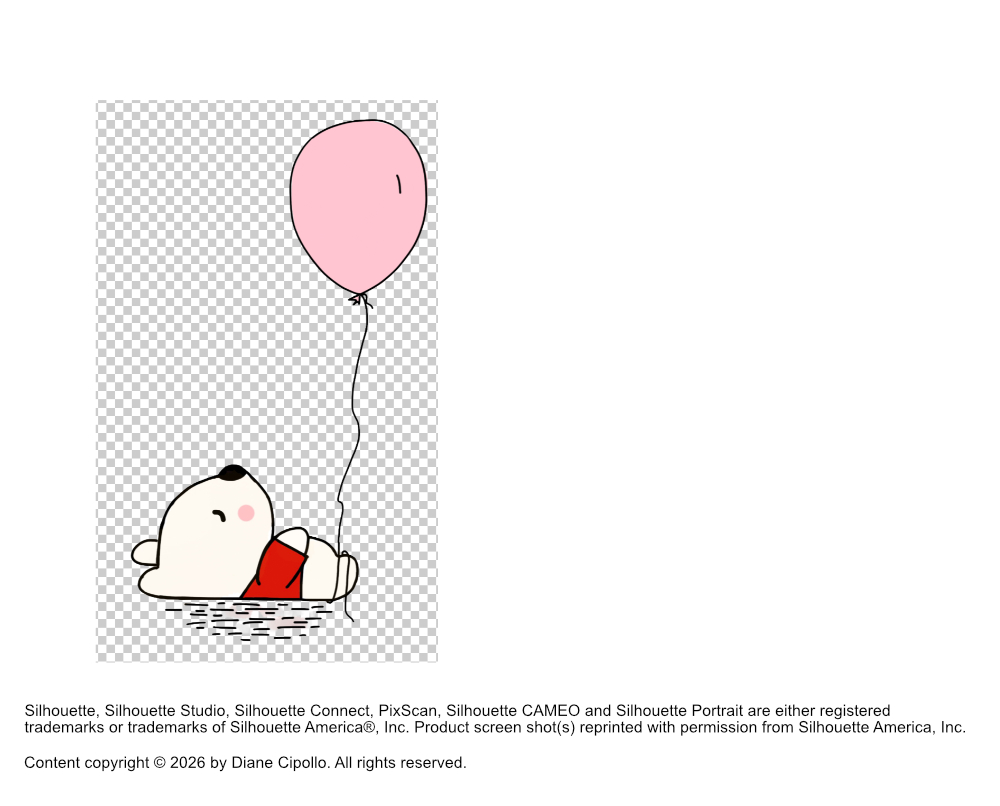
The first step is to remove the background from the image that you downloaded from Pixabay. We can do that in Silhouettte, but one free and easy method is to use Adobe® Express®. (see link below)- From the thumbnails on the opening webpage, click Remove Background.
- Upload the bear image in to the popup window.
- The background will be removed automatically. (see screenshot)
- Click download to download the new image as a png.
Silhouette Studio
Now we are ready to start the project in Silhouette Studio.- Open Silhouette Studio and click the Design tab at the top of the workspace.
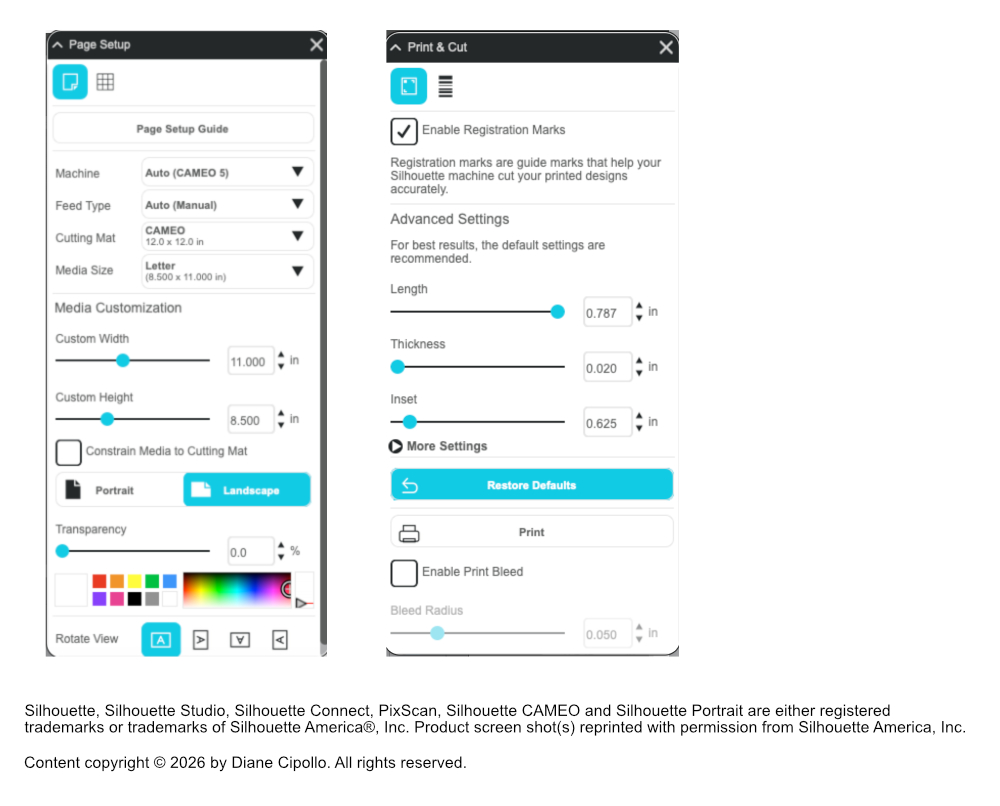
- Open the Page Setup panel and set the Media to Letter and the Orientation to Landscape.
- Open the Print and Cut panel and turn on the Registration Marks. (see screenshot)
- With the Rectangle tool, draw the first 3 x 3 inches note paper at the top left of the cutting area.
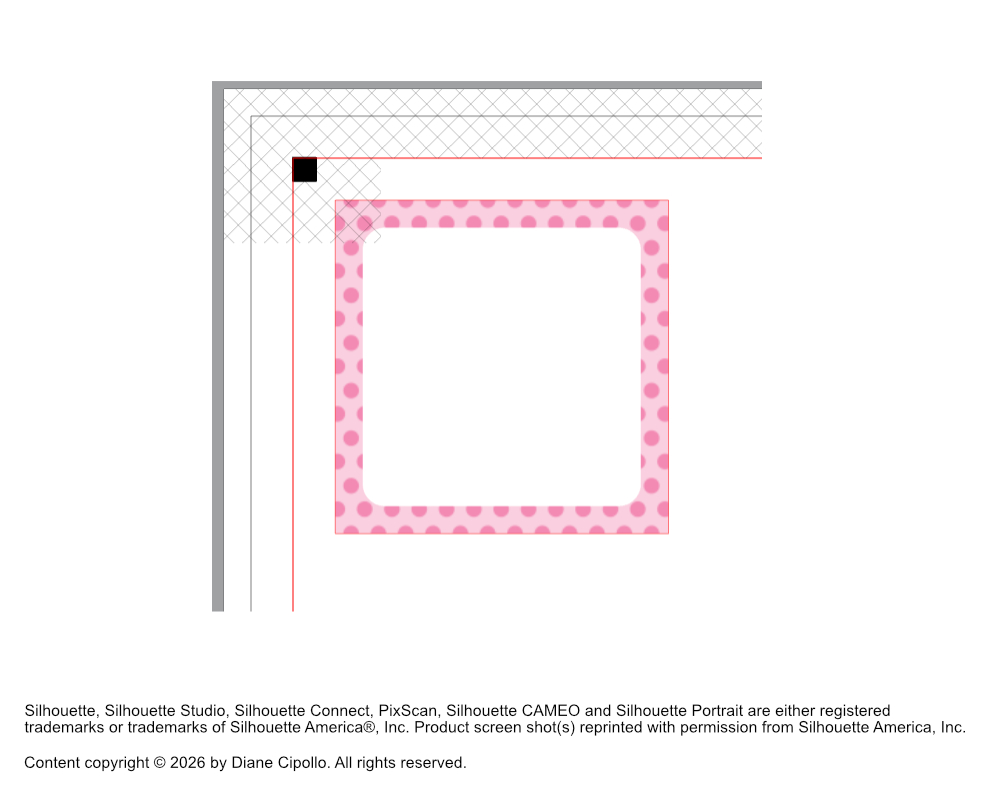
- To fill the rectangle with a background pattern, open the Fill panel to Fill Pattern. Choose a pattern that you like and click on the thumbnail. (see screenshot)
- With the Rounded Rectangle tool, draw a 2.5 x 2.5 inches rounded rectangle and center it over the patterned background.
- Set the Fill and Stroke Color to white. (see screenshot)
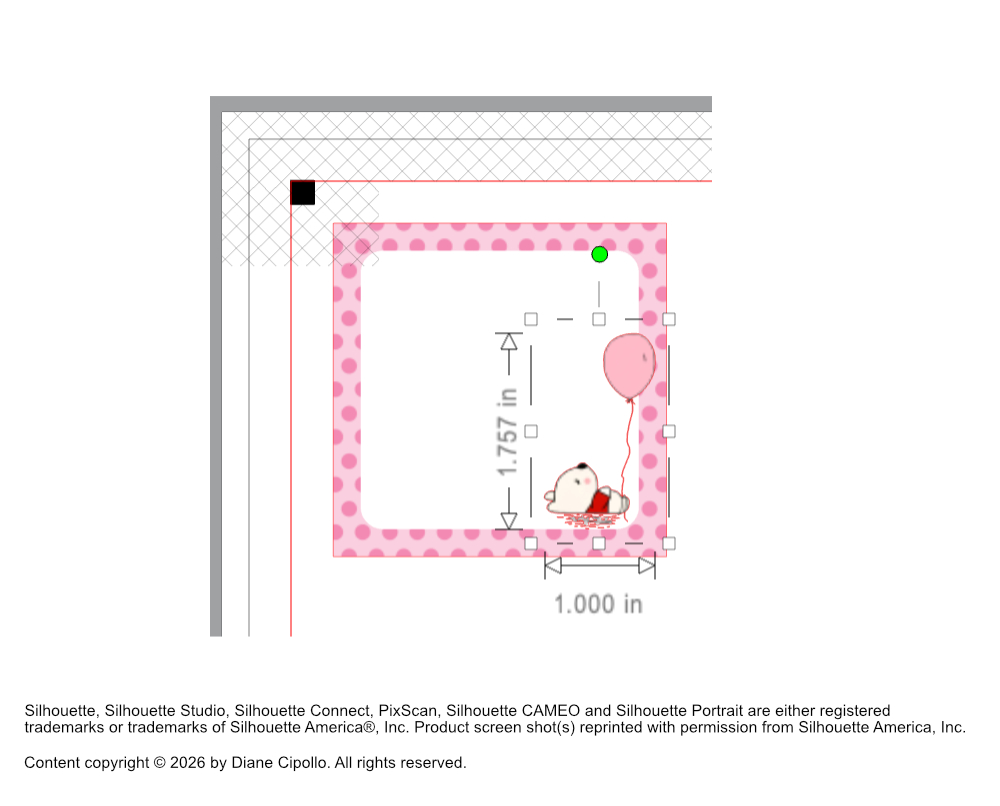
- To import the bear image, click File – Merge. Reduce the image to a Width of 1 inch.
- Place the bear image at the bottom right of the note paper. (see screenshot)
- With the bear image still selected, set the Stroke Color to black.
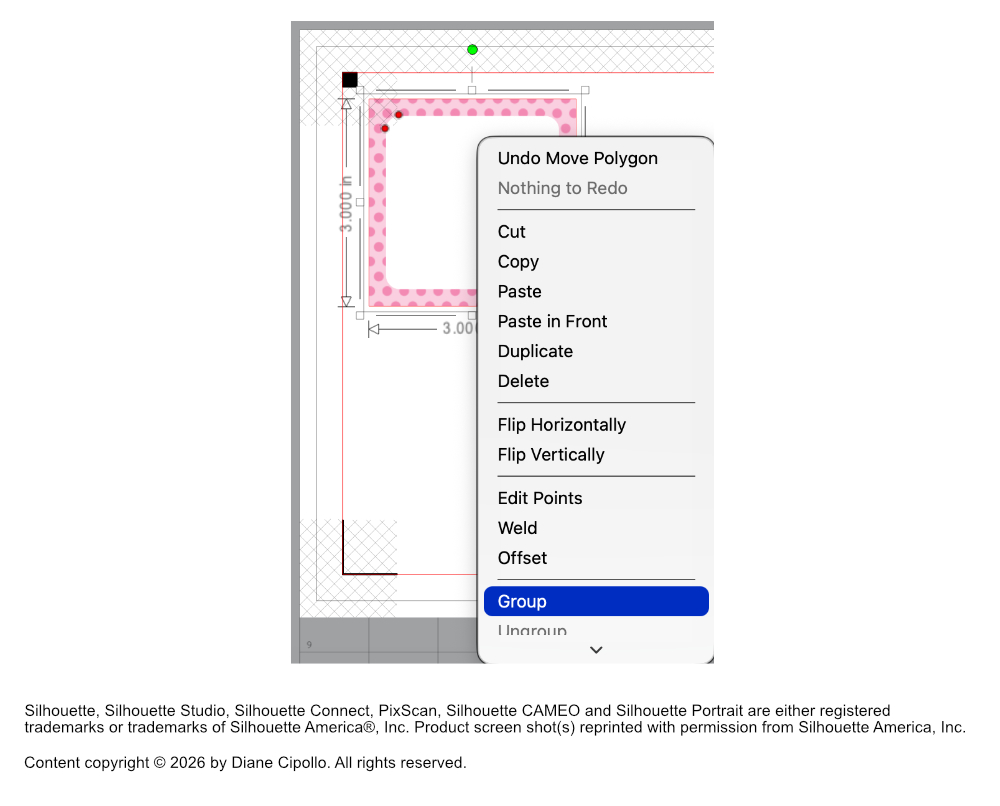
- Select all of the objects on the cutting area. Right-click and choose Group. (see screenshot)
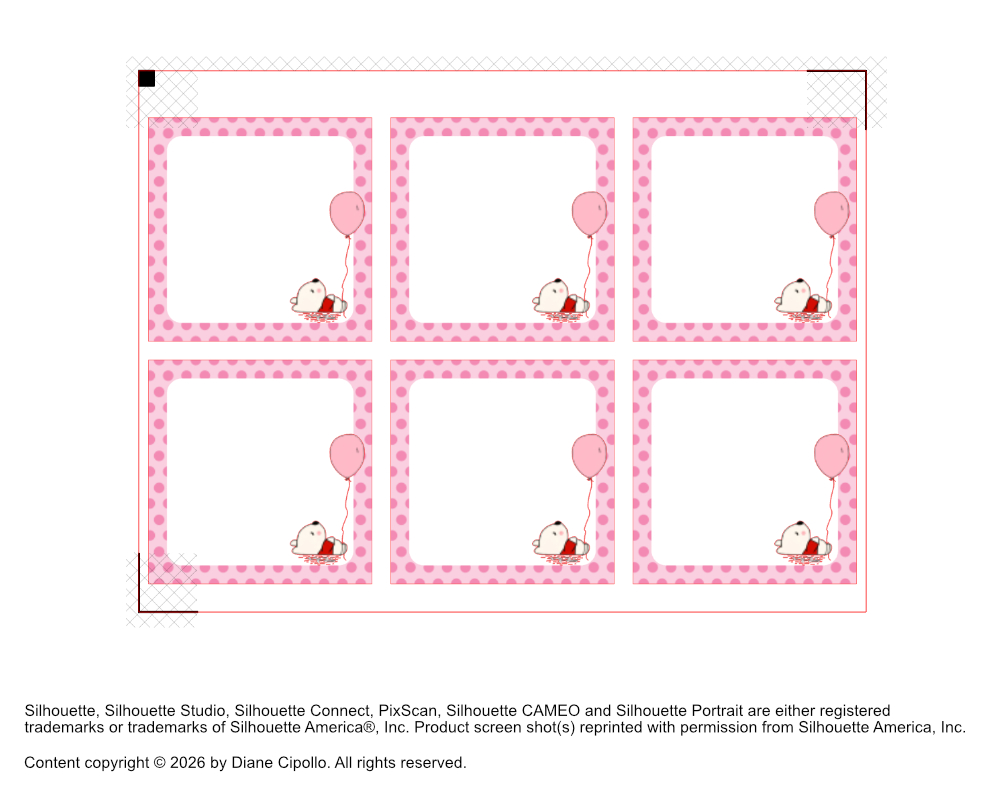
- Duplicate the notepad paper and place it to the right of the first paper. Repeat once.
- Select all three papers in the row and duplicate. Place the new papers below the originals. (see screenshot)
- To print the papers, click File – Print.
- Place the printed paper on the Cutting Mat and place in the Cutting Machine.
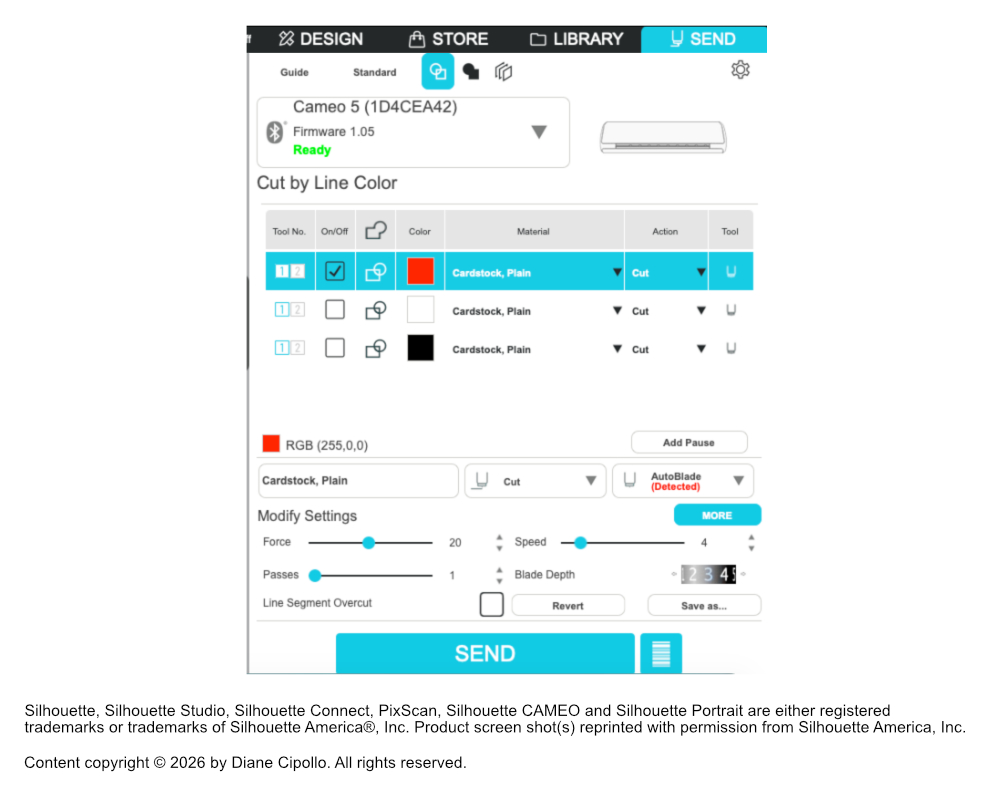
- From the Send panel, choose Cut by Line Color. Uncheck all colors except for the red color. Set the Action for the red color to Cut.
- Click the Send button to cut the paper. (see screenshot)
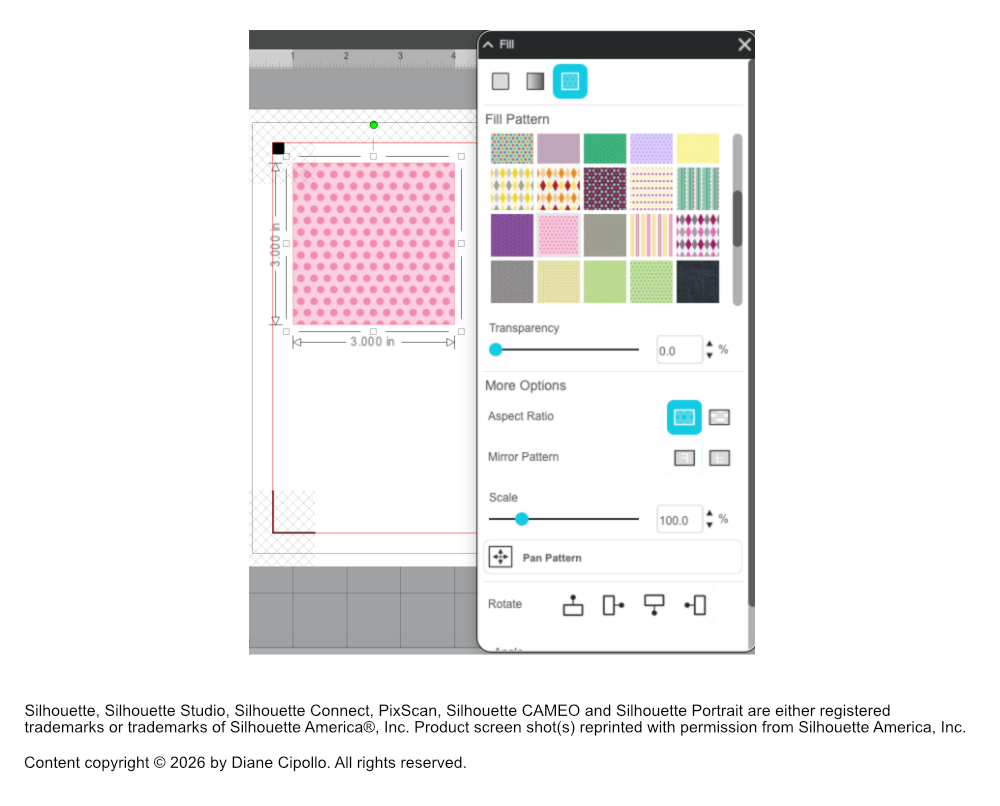
In the example, the Pinkpolka pattern was used.
Now we will group all of the objects together and duplicate the notepad paper 5 times.
Print and Cut
https://www.adobe.com/express/
Free Bear Balloon Napping Illustration by La Petite Femme
https://pixabay.com/illustrations/bear-balloon-napping-cute-3277204/
The Silhouette Cameo 5 was supplied to me by Silhouette America.
Silhouette, Silhouette Studio, Silhouette Connect, PixScan, Silhouette CAMEO and Silhouette Portrait are either registered trademarks or trademarks of Silhouette America, Inc. Product screen shot(s) reprinted with permission from Silhouette America, Inc.