Gingham Check Pattern in Illustrator
Published on BellaOnline.com
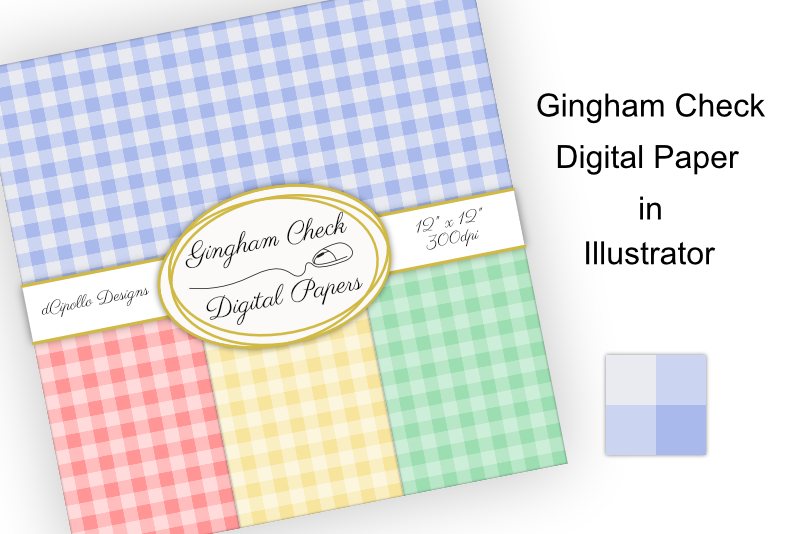
In this Illustrator® tutorial, we will create a Gingham check pattern. We will create our pattern for a 12 x 12 inches digital paper that can be used in many projects.
- Open Illustrator and start a new project with the following settings. (see screenshot)
- In the Application Bar, click the Switch Workspace button and choose Essentials Classic. Click the button again and choose Reset Essentials Classic.
- With the Rectangle tool, draw a 200 by 200 pixels square. Zoom in if necessary.
- Set the Stroke color to Null and the Fill color to c9d4f4.
- Now draw a second square starting at the top left corner of the first square. Set the Width and Height to 100 px.
- Set the Stroke color to Null and the Fill color to e9ebf2.
- Finally, draw another square at the bottom right of the first square. Set the Width and Height to 100 px.
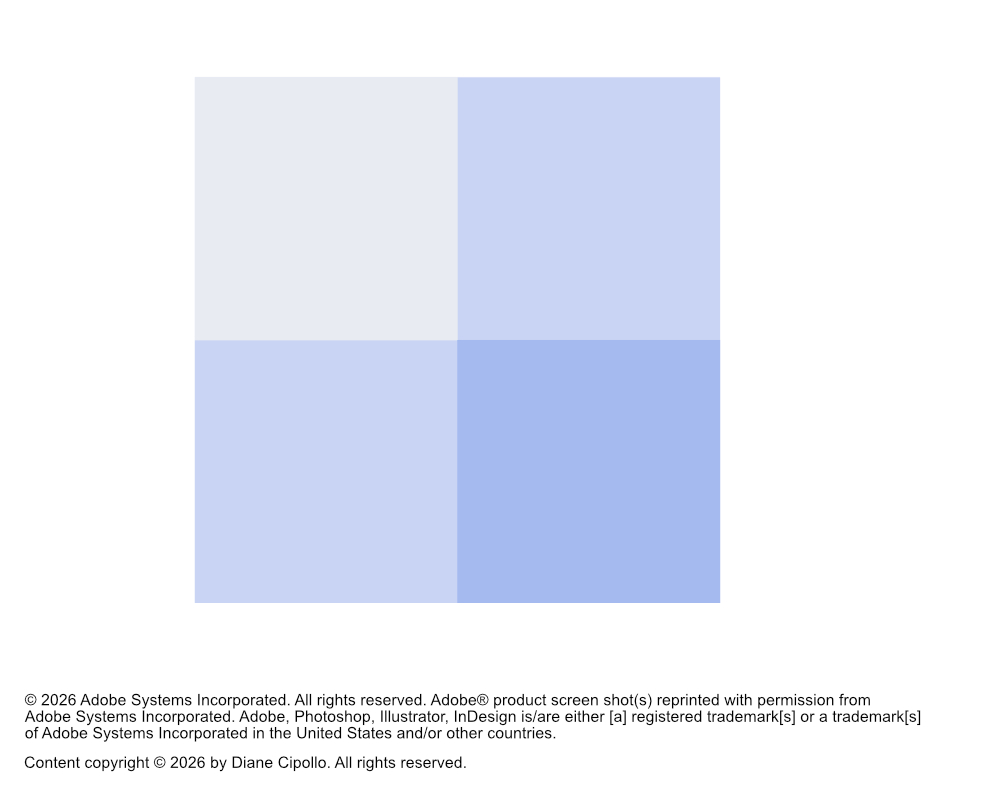
- Set the Stroke color to Null and the Fill color to a5bbef. (see screenshot)
- Select all of the squares.
- From the Menubar, click Object – Pattern – Make. Click OK to close the message.
- From the top of the workspace, click Done to exit Pattern Editing mode.
- Click View – Fit Artboard in Window.
- Select all of the squares and delete them.
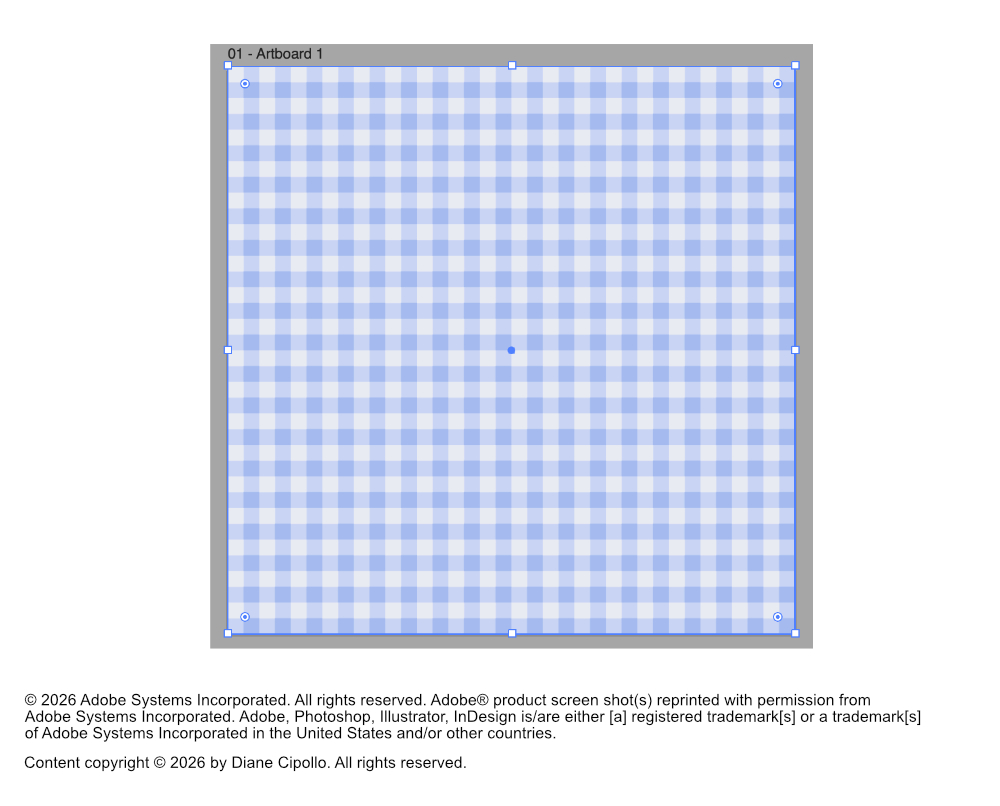
- Draw a large rectangle the same size as the artboard.
- Select the Fill control box in the Toolbar. Click the new pattern swatch in the Swatches panel to apply the pattern to the rectangle. (see screenshot)
- Click File – Save as and name the file GinghamPattern.
- Keep the default settings in the Illustrator Options dialog box.
- Next click File – Export – Save for Web.
- In the Optimized panel, set the following for your JPEG digital paper.
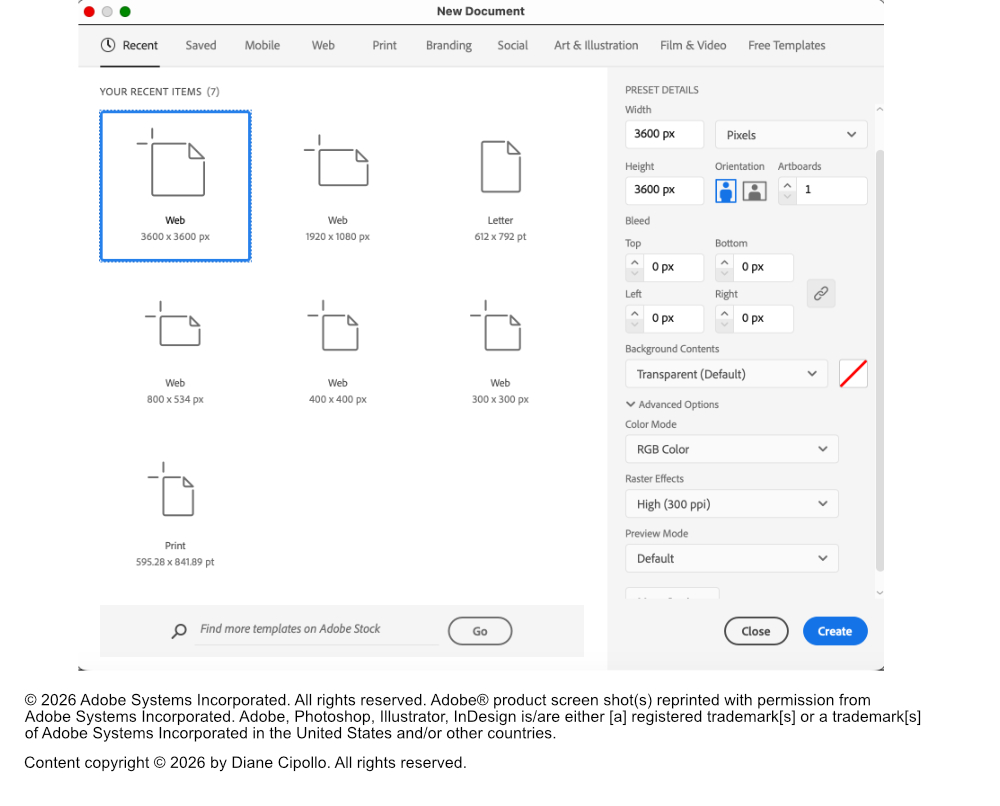
Preset Name: Digital Paper
Width: 3600 px
Height: 3600 px
Units: Pixels
Color Mode: RGB Color
Raster Effects: High 300 ppi
Our repeat tile for the Gingham pattern will be 200 pixels square and in shades of blue. The tile is made up of four colored squares.
Now we will make the tile a repeat pattern.
You are now in Pattern Editing mode. We do not need to make any changes.
You will see a new pattern swatch for our pattern in the Swatches panel. We don’t need the squares for the pattern tile any more.
We will first save this file as an Illustrator file and then as a JPEG file.
JPEG
Maximum
Quality: 100%
Progressive: checked
Width: 3600 px
Height: 3600 px
Percent: 100
Art Optimized